
Every time I say that I think of the song "Paper Roses" ha ha. Well let me start by saying this is my first tutorial EVER! Also, since I started making these I have not stopped. I make them watching TV, I make them when I am waiting for my laundry to get done, and of course when I am scrapbooking.
Okay so here it goes!
For this you will need:
1. A piece of card stock
2. A Pencil
3. A pair of scissors
4. Something round (I use the end of a paintbrush)
5. Needle nose pliers (optional)
6. Some type of glue
7. A spray bottle of water.

1.) Now you are going to start by cutting out a circle of your card stock. If it is easier for you draw a template like the one shown- Do it very lightly in pencil! I only did it dark because the camera did not see the lines. That's how I learned however now I just start out with a circle and cut into it with no lines. (saves on erasing.) You want the cuts to go from skinny to wider with leaving the end on it. This will be the base of the flower. After you cut it will look like one of those snakes kids make. DO NOT BE PERFECT WITH THIS! Cut "wavy" to make pretty petals or use decorated scissors. If you don't it still comes out pretty just wont look like mine =)


2.) Once you have your "snake" cut you roll the outside edges around your round object.


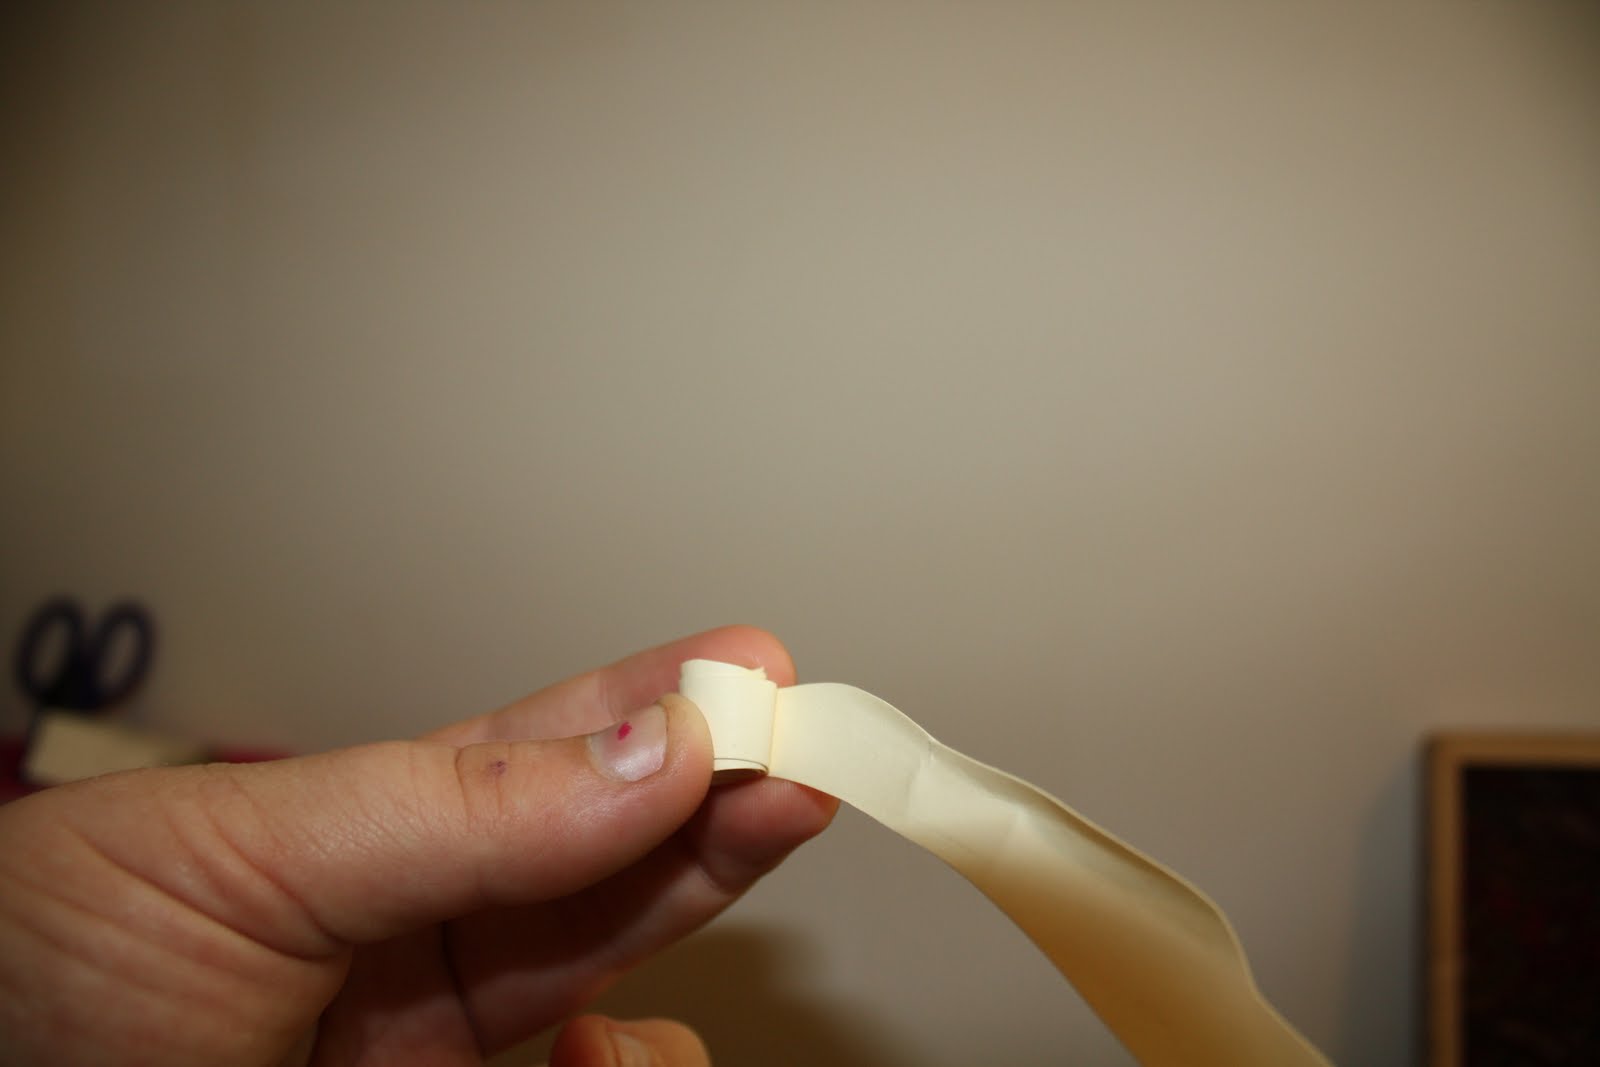
3.)Then with the needle nose pliers grab the smallest end of your "snake" and roll it around the pliers to make the center of your rose. You'll notice that this is rolled up tightly. Also make sure you re rolling so that the petals are folded out and not into it self. Ive also done that a couple times!

4.) Once you have your center you can just begin rolling the rose. Be sure to keep the bottom pretty together so when you glue it down it all glues to the base. Hold the bottom and allow the rose petals to flower out. As you are rolling you can work with the petals to continue to roll.
5.) Continue rolling until you get to your base.Then you put glue on the base and attach the flower press in the middle of the rose to make sure your center is glued to the base. Trim off excess base.


6.) Spray the flower with water only once or twice to dampen the flower. Then using your pliers or fingers form the petals any way you want them! Allow that to dry. I inked mine with distress ink.


Youre all done!!! PLease please please leave me comments! I will be starting to post daily and doing tutorials weekly if not more often! Have a great night!


lovely roses... :D
ReplyDeleteBeautiful! You did a great job on the tutorial. The pictures show very clearly what you want them to. Awesome!
ReplyDeleteLove the easy to follow directions. Way to go!!
ReplyDeleteYay! good girl for coming back to your forgotten blog. And for doing your first tutorial. You've done a great job
ReplyDelete